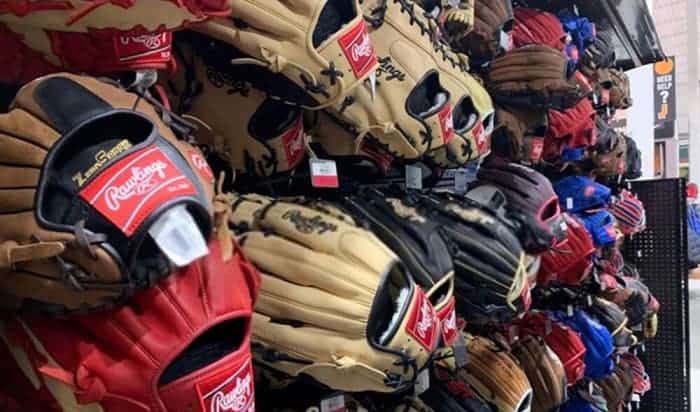
As with any other baseball gear, it is important to take good care of your batting gloves. To do that, you must know how to clean batting gloves. Regular upkeep will make sure that your gloves are always in their prime condition. By this token, your baseball experience will also be guaranteed.
That being said, we will take you through all the steps to effectively clean your batting gloves. In short, these are:
- Shake Off Any Clinging Dirt
- Brush Off Any Remaining Dust
- Clean Thoroughly With a Solution
- Wipe The Inside & Outside of Your Glove
- Wait and Let Your Glove Air Dry Completely
- Apply a Thin Layer of Glove Oil or Conditioner
For details on each step, however, continue reading. We will guide you on what you will need to have and what you will need to do!
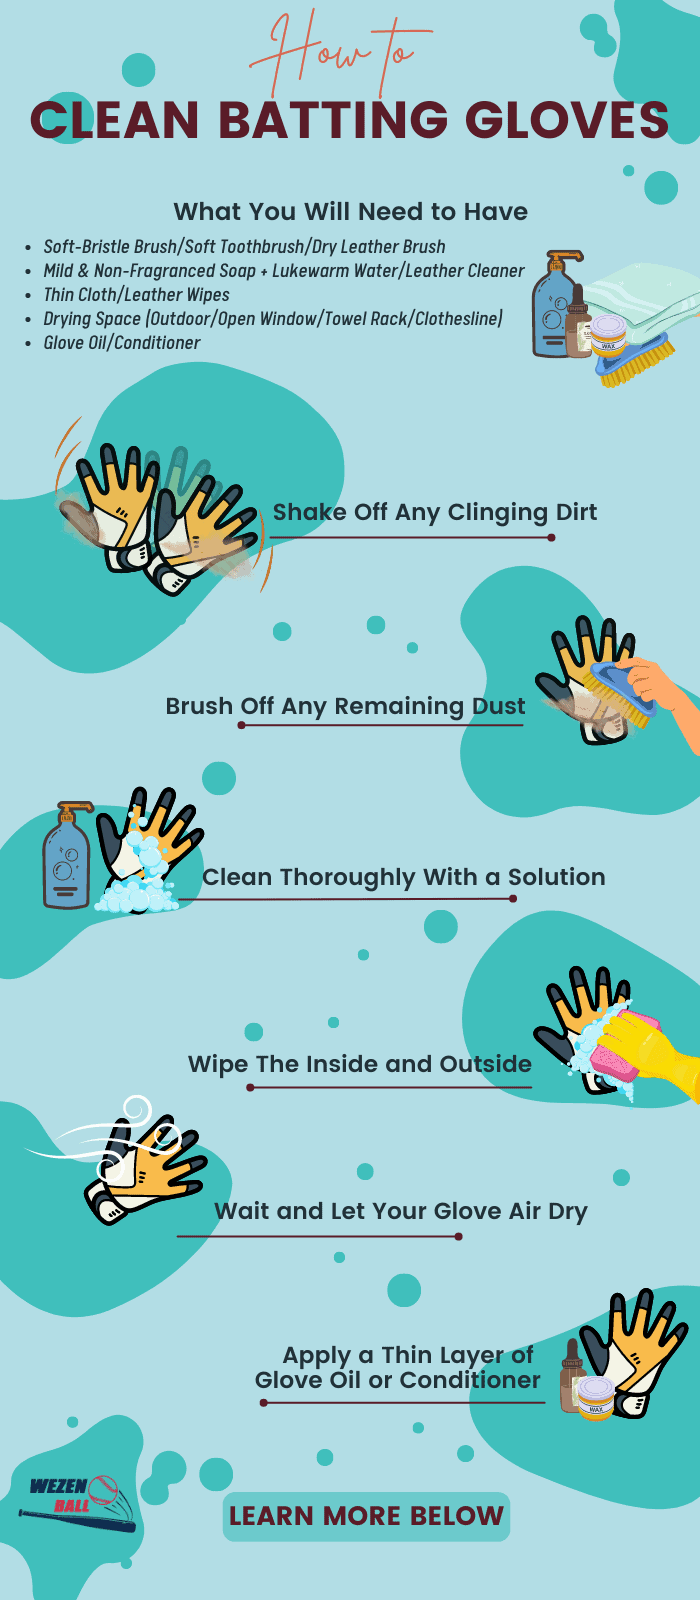
What You Will Need to Have
First, gather the following materials:
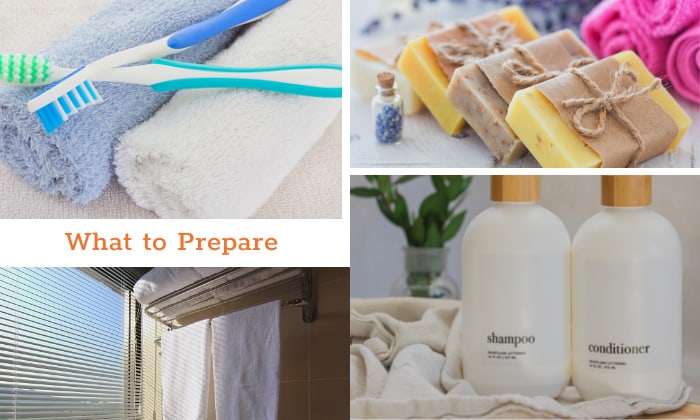
- Soft-Bristle Brush/Soft Toothbrush/Dry Leather Brush
- Mild & Non-Fragranced Soap + Lukewarm Water/Leather Cleaner
- Thin Cloth/Leather Wipes
- Drying Space (Outdoor/Open Window/Towel Rack/Clothesline)
- Glove Oil/Conditioner
When you have everything ready, grab your batting gloves and proceed!
How to Clean Batting Gloves Step-By-Step Guide
Cleaning a pair of batting gloves does not have to be an uphill battle. Below, we will reveal five simple steps that you can take using materials that you can find around the house.
Step 1: Shake Off Any Clinging Dirt
First, clap your batting gloves against each other to eliminate as much dirt on the surface as possible. Then, shake it in up-and-down motions as well as side-to-side.
You should strive to get rid of all the clinging dirt. Shake well but not too hard to avoid leaving unintended consequences on the shape of your batting gloves. At this step, all the loose dirt should be gone.
Step 2: Brush Off Any Remaining Dust
Second, use the soft-bristle brush that you have prepared to remove all the remaining dust from your batting gloves. If you do not have said brush, you can also use a soft toothbrush or a dry leather brush. The latter option is very easy to find at local leather or shoe stores. You can also get them from online retailers.
Make sure that you do the brushing gently. If you press too hard or too rough, you will damage the outer surface of the leather on your gloves. This, in turn, will speed up the wear and tear, eventually leaving you with an unusable pair of gear. Then, you will have to shell out money to buy new ones. So, be very careful with the brushing.
Step 3: Clean Thoroughly With a Solution
Now, we will move onto wet cleaning. To begin, create a solution out of the soap and water. Use a 1:2 ratio for the soap and water, respectively. For the soap, choose a mild, non-fragranced one. Your best bet is soap made for sensitive and delicate skin. If you want to make use of soap that is readily available at home, dishwater soap will also work.
Regardless of what you choose, mix the two well in a container. Instead of water and soap, you can also use commercial-made leather cleaners. These may be a bit more expensive, but they can give you peace of mind. A few reliable ones that you can consider are Glove Doctor Leather Cleaner and Lexol Balanced Cleaner.
With the solution ready, grab the thin, soft cloth that you have prepared and dip it into the solution. However, be careful not to overdo the soaking.
Clean your batting gloves with the dampened cloth. Start with dabbing, then follow through with circular rubbing motions. Do all of this gently. You do not want to risk damaging the leather of your gloves. When rubbing, strive for a lather.
It is best to clean the inside of a baseball glove first. For this, make sure you turn the gloves inside out. Once you are finished with the insides, you can clean the outside. Be meticulous and pay attention to the small nooks and crannies. For a spotless result, take your time.
Step 3: Wipe The Inside and Outside
Next, wipe the solution off with a clean cloth or pre-made leather wipes. The latter can be bought from local stores as well as e-commerce sites. However, be mindful of the wipes you get. Baby wipes or makeup wipes that are common in the market contain alcohol, which is bad for the leather on your batting gloves.
Wipe thoroughly until all the previous lather is gone, and the gloves are fully clean. Do not forget the insides! It is important that you execute this step meticulously. Be mindful of any Velcro scraps; make sure there is no water that remains puddled in them. Any solution that persists on your gloves for too long will seep into the construction and permanently ruin the gloves. In that case, you will have to throw away the whole pair!
At this point, some sites advise us to wash batting gloves and rinse them with water. However, we advise against this because you will have extra complicated steps to dry them.
Step 4: Wait and Let Your Glove Air Dry
After you finish cleaning the gloves, let them rest in a cool and dry place. Balconies or backyards are good options for natural drying. Another excellent approach to go about this is clipping or hanging the gloves from a towel rack. You can also dry it on a clothesline along with your other laundry loads.
However, do not stick it into your clothes dryer. Even though you may be tempted to speed up the drying process, the dryer machine will ruin your gloves. They will be deformed and ultimately, useless. Leave the gloves overnight so they can dry completely.
Step 5: Apply a Thin Layer of Glove Oil or Conditioner
After you are sure that the gloves are dried, take out your glove oil or conditioner. Using a soft-bristle brush or clean cloth, apply a thin layer of said oil or conditioner on the gloves. This will rehydrate your gloves and revive their color.
Without this layer, the leather of your gloves can dry out, becoming brittle and vulnerable to cracks. Make sure that you use oils and conditioners that are made for leather. Reliable options that you can consider are
Aside from commercial products, you can use Vaseline, olive oil, linseed oil, mink oil,…that you have readily available at home.
An important note to keep in mind: Do not condition excessively. Too much oil or will backfire and damage the construction of your batting gloves.
Message the oil or conditioner from the center of the palm in circular motions, going outward. Do not forget the fingers and pockets.
So, there you have it! Just five steps to clean your batting gloves.
Conclusion
With that, you have reached the closing remarks of this article on how to clean batting gloves. To recap, here are five steps that you need to take:
- Shake Off Any Clinging Dirt
- Brush Off Any Remaining Dust
- Clean Thoroughly With a Solution
- Wipe The Inside & Outside of Your Glove
- Wait and Let Your Glove Air Dry Completely
- Apply a Thin Layer of Glove Oil or Conditioner
Did you find the steps easy to follow? Share your experience with us in the comments. We cannot wait to hear from you! Also, if you have any follow-up questions or thoughts on this topic, you are welcome to let us know in the comments.

Five years as a baseball player, my training approaches with this game give me the motivation to inspire and support young players more. Like all sports, we should start with the desire to have fun and maintain our resilience to strive better at any competition. But, of course, some of us want to have some fun and train for better health. It does not matter what your initial purpose is; I believe that most people ever holding on to the baseball bat will fall in love with the games as I do.