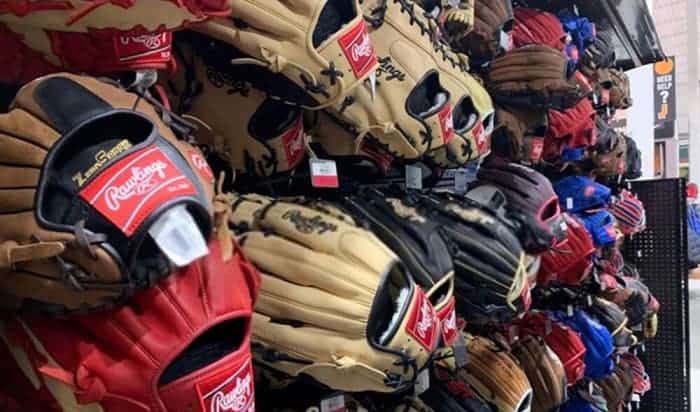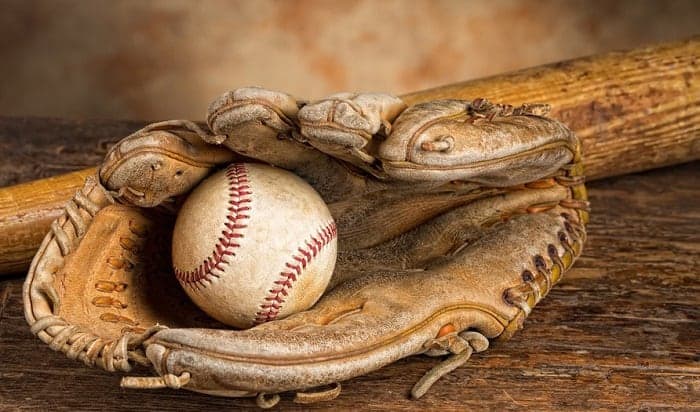
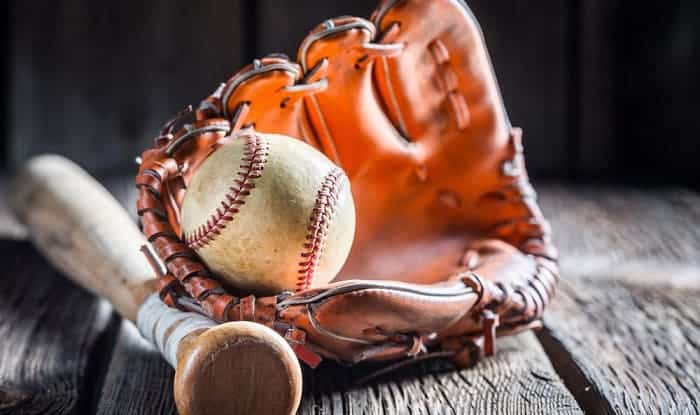
Even though we always try our best to take good care of baseball gloves, there are times where they come into contact with water and become wet. When it happens, it is important to know how to dry a wet baseball glove.
Waterlogged gloves are not only annoying for the hands but are also prone to becoming brittle and losing their shape. If you leave them wet for too long, they will not be able to perform as reliably as before.
Obviously, you do not want to be getting new gloves all the time (News flash: Baseball gears are not the cheapest). So, what should you do to dry out a wet baseball glove? It’s simple, really—just follow these steps:
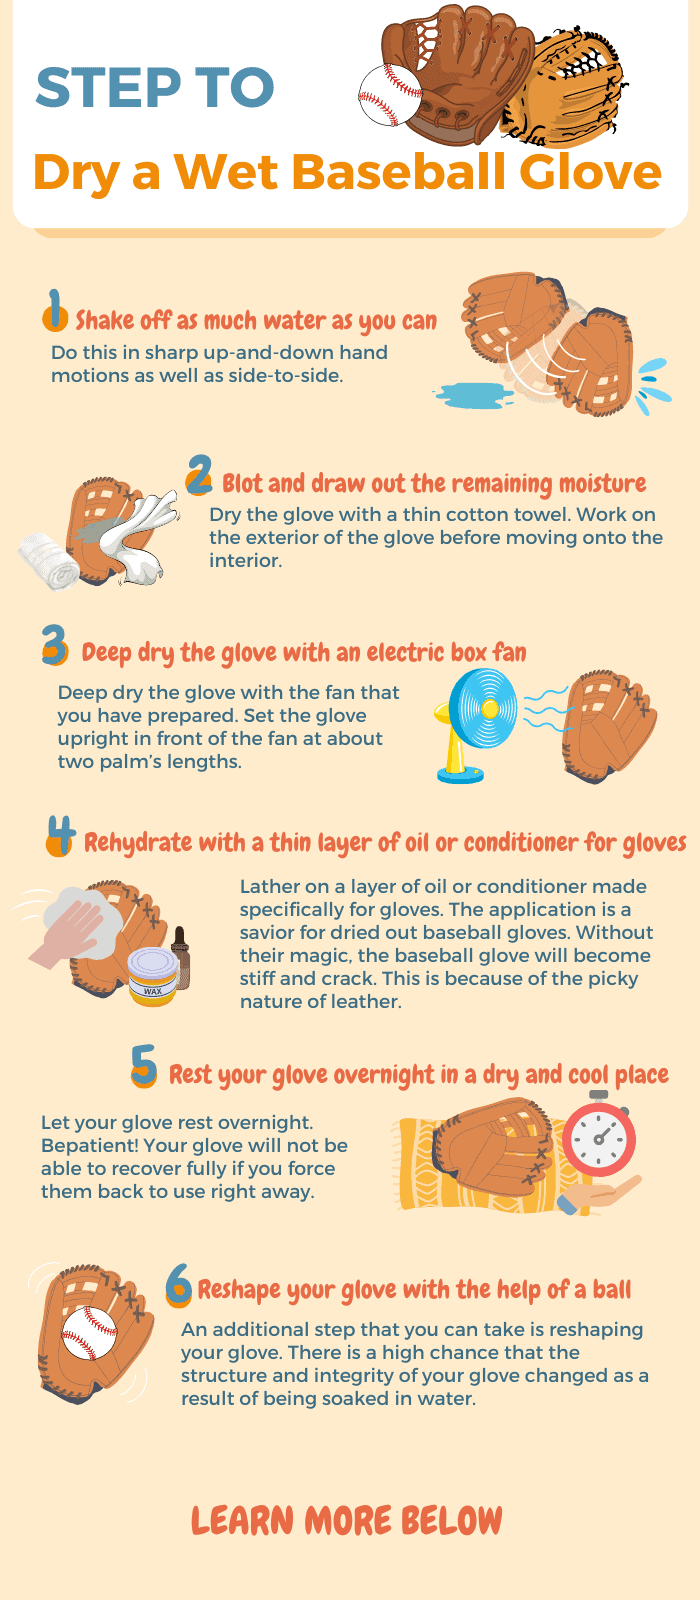
- Shake as much water off as possible
- Blot and draw out the remaining moisture
- Deep dry a baseball glove with an electric box fan
- Rehydrate with a thin layer of oil or conditioner
- Rest it overnight in a dry and cool place
- Reshape it with the help of a ball
For details on each step, continue reading! We will take you through what you need to have and what you need to do to successfully execute this tutorial. Happy reading!
Contents
- Step-By-Step Guide on How to Dry a Wet Baseball Glove
- What You Will Need to Have
- What You Will Need to Do
- Step 1: Shake off as much water as you can
- Step 2: Blot and draw out the remaining moisture
- Step 3: Deep dry the glove with an electric box fan
- Step 4: Rehydrate with a thin layer of oil or conditioner for gloves
- Step 5: Rest your glove overnight in a dry and cool place
- Step 6: Reshape your glove with the help of a ball
- Other Tips To Keep in Mind
- Conclusion
Step-By-Step Guide on How to Dry a Wet Baseball Glove
This is our tested and proven method to dry out a wet baseball glove. There are only six simple steps and relatively easy-to-find materials.
What You Will Need to Have
To start, prepare the following materials:
- Thin cotton towels
- Q-tips
- Tissues
- Electric box fan
- Oil or conditioner for gloves
- Dry and cool place away from direct sunlight
- A baseball
Once you have everything ready, grab your wet glove and proceed!
What You Will Need to Do
Drying a wet baseball glove is not as hard as it sounds. You just have to be careful and patient. Read carefully and follow the steps below:
Step 1: Shake off as much water as you can
First, shake as much water off your soaked glove as possible. Do this in sharp up-and-down hand motions as well as side-to-side. Take your time! The more water you can get rid of in this step, the easier it will be in all the following steps.
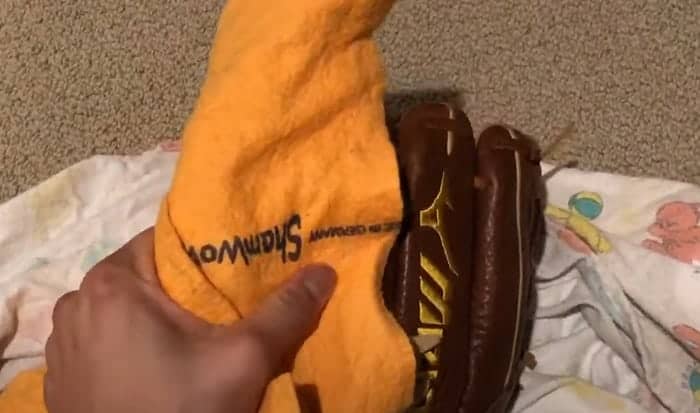
Step 2: Blot and draw out the remaining moisture
Second, dry the glove with a thin cotton towel. Work on the exterior of the glove before moving onto the interior. Dab the water away gently, but do not press or hold down against the material for too long or too hard. Also, make swiping motions to remove all the water.
If your towel is drenched, use a new one. It is best to suck out as much water as possible with the first towel, then blot the remaining with the second. Essentially, you are letting the towel absorb moisture from your glove.
Be meticulous! Do not gloss over any parts, particularly the pockets and finger stalls. For the pockets, consider stuffing the towel inside to draw out water. You can pair it with a ball so there are no chances of distorting the shape of your glove. You can try stuffing the finger stalls too. But since they are more narrow, do not be discouraged if you cannot. Opt for Q-Tips or rolled tissues instead.
If you do use these, do not forget to switch to new ones frequently. Using a wet one will counter the purpose! I have heard of others using newspapers, but there is a chance that the ink on said paper will bleed out. So, I recommend against it.
Step 3: Deep dry the glove with an electric box fan
Third, deep dry the glove with the fan that you have prepared. Set the glove upright in front of the fan at about two palm’s lengths. Run the fan and wait for about 30 minutes.
At the 15-minute mark, flip your glove so the previously concealed parts get their share of the fan. Throughout this step, check up on your glove regularly. Make sure that your glove is not too hot or too cold. This is important to not cause any unintended consequences.
Step 4: Rehydrate with a thin layer of oil or conditioner for gloves
Fourth, lather on a layer of oil or conditioner made specifically for gloves. The application is a savior for dried out baseball gloves. Without their magic, the baseball glove will become stiff and crack. This is because of the picky nature of leather.
There are spray conditioner cans that make this step very easy. However, more traditional ones will require you to use a soft-bristle brush or toothbrush. Only apply a thin layer. Excessive conditioners or oils will make your glove worse off.
Begin at the palm of the glove and massage the oil or conditioner outward in circular motions. This step is crucial in rehydrating your glove and reviving its color. There are a lot of oils and conditioners available in the market. You can easily find one that suits your needs and budget.
It is possible to get these in person from local stores as well as virtually on e-commerce sites. Reliable glove oils and conditioners that you can consider are Covey Sports’ Glovolium and Franklin Sports MLB Dr. Glove Conditioning Glove Oil.
If you do not have the time or money to buy separate glove oils and/or conditioner, you can also use Vaseline, mink oil, olive oil, linseed oil, or foam shaving cream that you already have at home.
For more detailed guidance on how to condition your glove, learn more the detail guide here.
Step 5: Rest your glove overnight in a dry and cool place
Five, let your glove rest overnight. Be patient! Your glove will not be able to recover fully if you force them back to use right away. Choose a place indoors. It should be dry and cool. Make sure you stay away from direct sunlight and other heat sources.
This should complete your cleaning process. However, if you feel like the results are not satisfactory, you can repeat the steps. Stop only when you are sure that the glove is good to go and comfortable.
Step 6: Reshape your glove with the help of a ball
An additional step that you can take is reshaping your glove. There is a high chance that the structure and integrity of your glove changed as a result of being soaked in water. Thus, it is good to spare time in reshaping it.
The best way to go about this is by placing a ball in the palm for the glove to hold. This will help it return to its proper posture. Other sites will recommend tying it with a rubber band. Although this speeds up the process, it can leave unsightly creases on your glove. That being said, if an aesthetic eyesore is not a problem for you, by all means, use rubber bands!
Other Tips To Keep in Mind
1. Do NOT Use Heat Sources
Even though heat is the first thing that comes to mind when thinking of ways to dry out wet items, heat is a no-no with baseball gloves.
There are many guides that recommend drying your gloves in an oven and clothes dryer or with a hairdryer. But, we strongly advise against this.
The heat will do more harm than good. You may ruin your glove permanently. What a waste, right? You do not want to be cleaning your glove and then ending up with a useless one. So, avoid heat sources at all costs.
2. Do NOT Wring It Out
You cannot dry your baseball glove in the same way as your towel. Any approach of wringing out the glove will damage it. So, do not try to shortcut the process by wringing it to eliminate moisture.
Conclusion
With that, you have reached the end of this article on how to dry a wet baseball glove. To recap, these are six steps that you need to take:
- Shake off as much water as possible
- Blot and draw out the remaining moisture
- Deep dry the gloves with an electric box fan
- Rehydrate with a thin layer of oil or conditioner
- Rest it overnight in a dry and cool place
- Reshape it with the help of a ball
Hopefully, it was easy to follow along.
Let us know in the comments if this method worked for you. Also, we welcome any follow-up questions and thoughts. Just leave them in the comments! If you think this will be of benefit to anyone, do not be afraid to share it as well.

Five years as a baseball player, my training approaches with this game give me the motivation to inspire and support young players more. Like all sports, we should start with the desire to have fun and maintain our resilience to strive better at any competition. But, of course, some of us want to have some fun and train for better health. It does not matter what your initial purpose is; I believe that most people ever holding on to the baseball bat will fall in love with the games as I do.