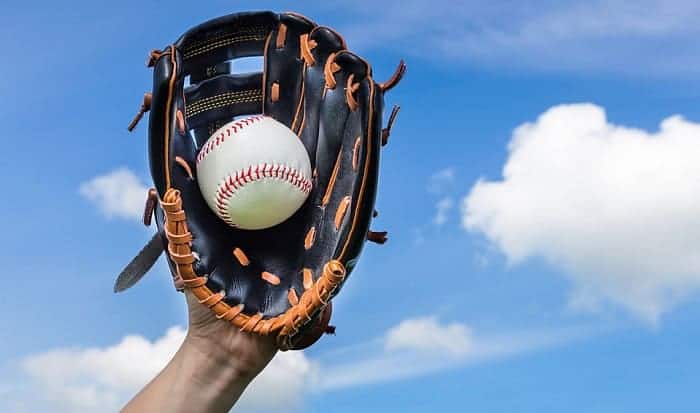
Either you are the parent of an enthusiastic baseball kid, or you love playing baseball yourself, chances are those frequently-used gloves are ripped at some point. In such cases, we can fix the pair by relacing it with some necessary tools.
But this might not be an easy task, so you need to slowly get yourself through each glove part to avoid tangling the lace badly. So, without further ado, let’s figure out together how to relace a baseball glove.

Contents
What Tools Should We Prepare for Relacing Our Gloves?
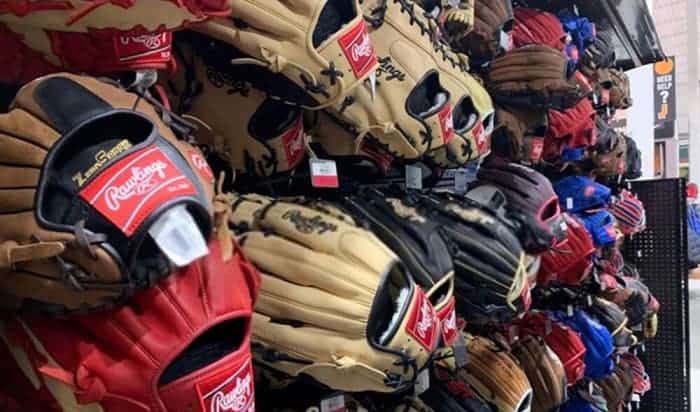
There are some basic items that we can gather to start relacing the ripped gloves. You can find them in a nearby store or online orders within a short period:
- New glove laces: Depending on your glove color, choose the right product that ensures both durability and comfort for your pair.
- Pull tool/lace needle: If you already have a slim pull tool that fits through your baseball glove holes, then that’s good news. But without one, you should look for needle lace that makes re-lacing much more manageable.
- A clipper: Since the glove lace is quite resilient, make sure you have a solid and sharp clipper in hand. This is necessary to handle the lace while tightening, knotting, and tailoring it for different glove parts.
Step-By-Step Guide on How to Lace the Baseball Glove

To visualize these steps can be challenging if you do not know every part of the gloves and their connected holes thoroughly. But you can start slowly and work your way through all parts.
- Relace the thumb and pinky parts
There are four holes on the front and four in the back of the gloves in this area. Thus, we start with the first hole; it is recommendable to use a pulling tool or lace needle to push the lace. Make sure you leave a fair amount of lace for it to pass through all holes to the last one, which is about 2 inches. Keep the pattern of this action.
Please note that the lace often has two sides, one is clean, and the other is dirty. You would want to show the clean side on the outer of the glove. Thus, make sure you turn the lace to the part desired when thumbing it through all the holes.
After finishing with the thumb holes, carry on the same with the pink fingers. Some adjustments will be made during this process, and you should put enough pressure on the lace for it to be tightened correctly.
- Relace the inside of the gloves
Next, we can move on to fix the middle of the gloves, which often have extra laces. You can unbuckle all the old laces and leave all the holes clear to start lacing with the new ones.
Fold the end of the lace and clip right in the middle of the piece, leaving a small hole on it. We will start from the underneath part of the inside area using the lace needle again, pushing the lace upward. Remember to line up the lace along with the second hole, then thumbing the lace through it and the small hole made with the clipper. You can repeat the pattern until filling all of them.
In the last part, since there is no more hole in the middle area, you should pull the lace through the outside of the gloves. Afterward, knot and tighten it to ensure it stays put. And this part should be done again with the other side of the glove interior. Lastly, clip and knot the lace tightly after you finish.
- Relace the glove web
The glove web or the pocket should be laced through the first front hole and connect with the second one on the thumb. You should not tighten these holes too close to each other. Then work your way down to the next holes along the top of the pocket. Next, make sure you knot the lace right there and clip it to finish re-lacing the top part.
With the same manners, you can continue re-lacing the middle of the web and get to the bottom of the pocket. The step might take some time since it has a fair amount of holes. So make sure you do not tangle the lace in the process.
- Relace the top fingers
The final part of the glove is the top fingers, so we can knot the lace’s end. Then, with the lace and the pull tool in hand, we can poke through the hole of the little finger from the back then come down to the ring finger. Finally, we can continue to run through every finger to lacing them together carefully.
Conclusion
We can all agree that it is not easy to finish relacing all parts of the glove in a short time. If you are lucky, maybe just a part of the lace comes off, and you can fix it without opening all other areas. But if not, be patient with your gloves. And when it gets too much, there are always baseball stores that help you do that job.
So, have fun learning how to relace a baseball glove, and do not stress yourself too much over the task.
Furthermore. You can refer to some suitable tips for baseball gloves, such as how to dry a wet baseball glove, break in a baseball glove, oil a baseball glove and more…

Five years as a baseball player, my training approaches with this game give me the motivation to inspire and support young players more. Like all sports, we should start with the desire to have fun and maintain our resilience to strive better at any competition. But, of course, some of us want to have some fun and train for better health. It does not matter what your initial purpose is; I believe that most people ever holding on to the baseball bat will fall in love with the games as I do.